Tags
As a Smart Flows project grows, applying tags allow you to quickly filter for tagged entities and content to use in designing your outputs. This article provides an overview of the following topics:
-
Types of tags
-
How to create tags
-
How to use tags to manage your project effectively
-
How apply the Access system tag group
-
How to modify the default tag behavior
Tag Groups
Tags are grouped into tag groups. For instance:
- Tag group Year
- Tag 2015
- Tag 2016
- Tag 2017
- Tag 2018
- Tag group Department
- Tag Sales
- Tag Marketing
- Tag QA
- Tag HR
You can tag data sets, templates, and flows.
Tag Group Types
Tag groups are divided into two types: Standard tag groups and System tag groups.
-
Standard tag groups are the ones you create yourself.
-
System tag groups are pre-made tag groups that you cannot create or edit. For more details, please refer to System Tags.
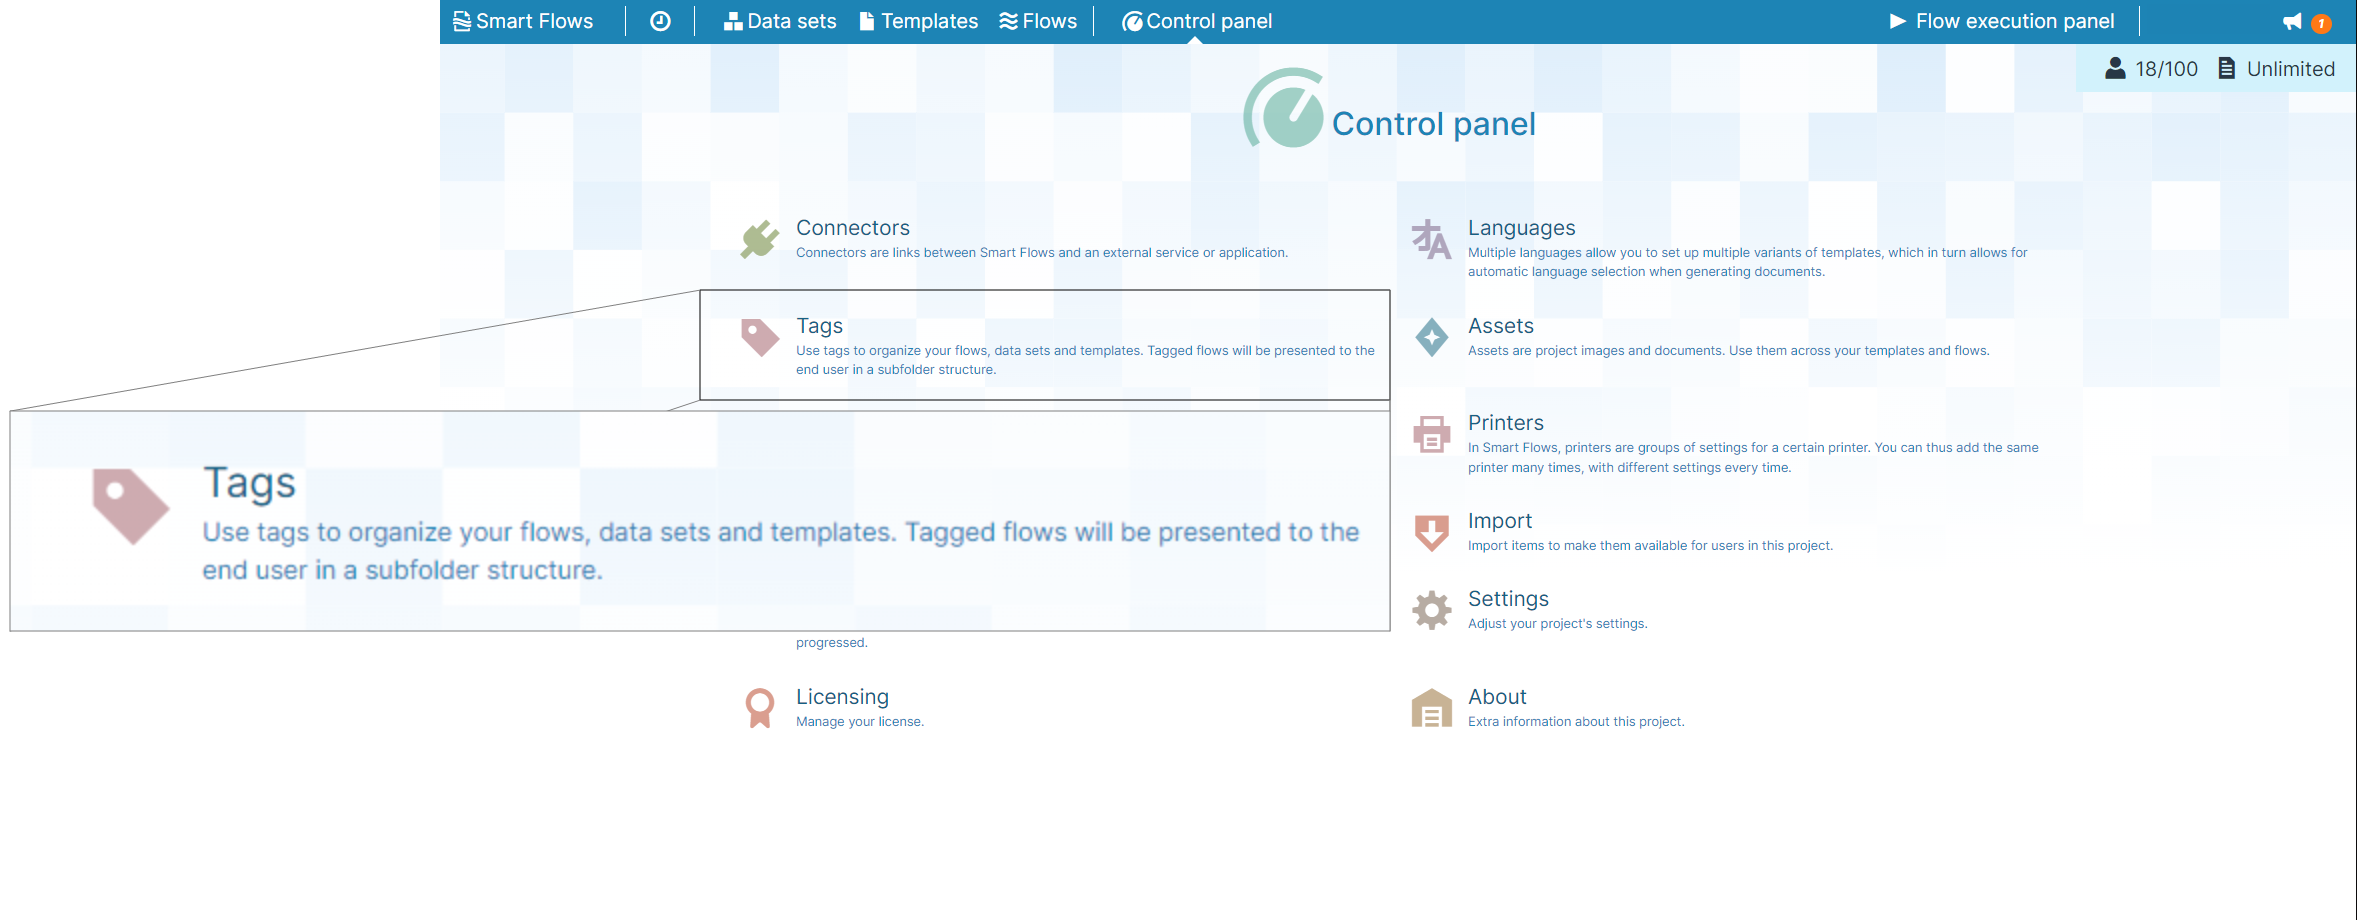
Managing Tags
You can view and manage all tags in the Tags List view accessed via the Control Panel. Please refer to the The List View page to learn how to use the List view.

Creating Tag Groups
Creating tag groups allows you to create and maintain collections of like tags.
| 1. | In the Project Console Control Panel, select the Tags button. |
The Tags List view displays.
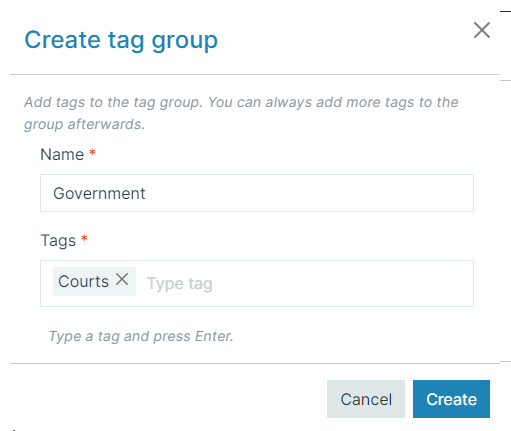
| 2. | Select the +Create button. |
The Create tag group dialog displays.
In this example, we're creating a Government tag group and adding the tag Courts to allow us to manage government clients since they generally have additional compliance and reporting requirements.
| 3. | In the Name field, enter a name for the tag group. |
| 4. | In the Tags field, enter the tags to include in this group. Multiple tags may be added. |
You can always add tags later. You can remove a tag by selecting the X button next to the tag.
| 5. | Select the Create button. |
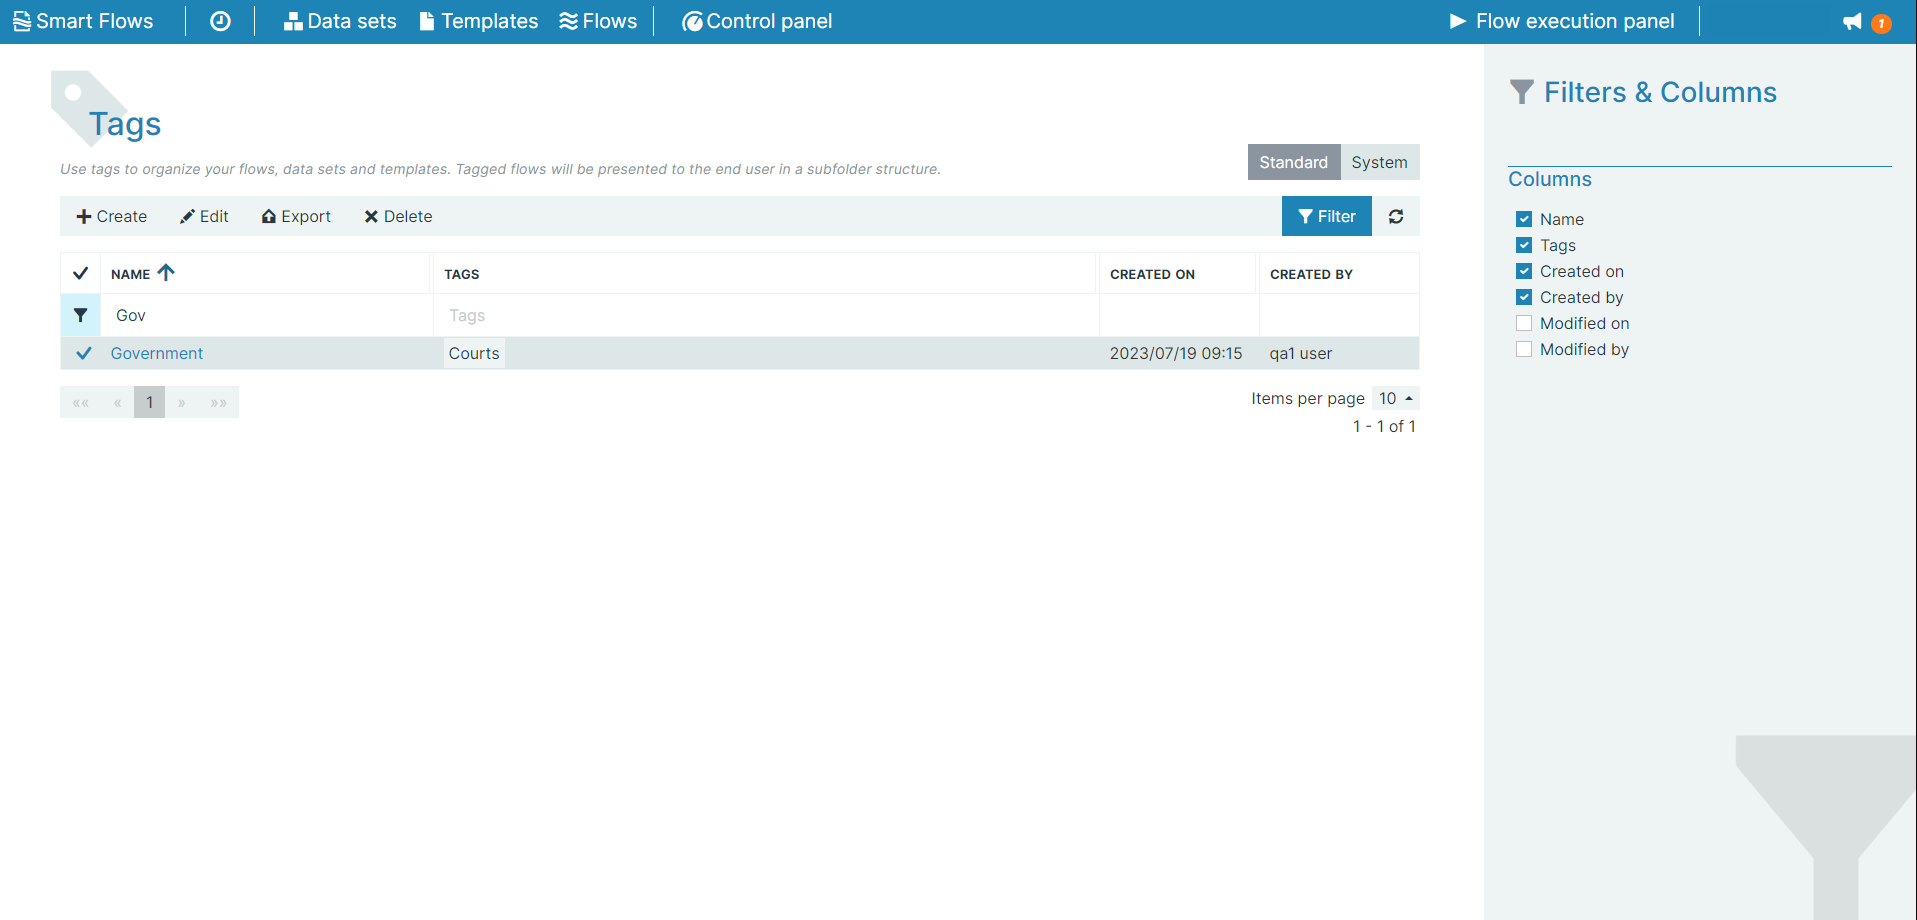
A confirmation message "Successfully created tag group" displays.
Filter and search for your newly created tag to verify it was created successfully.

Deleting Tag Groups
Tag groups can be safely deleted without deleting any tagged items.
| 1. | In the Project Console Control Panel, select the Tags button. |
The Tags List view displays.
| 2. | Select the Filter button. |
| 3. | In the Name column, search for the tag group to delete. |
| 4. | Select the tag group in the List view. |
| 5. | Select the x Delete button. |
The Delete tag group dialog displays.
The Delete tag group dialog shows all tagged items associated with that tag group. In this example, we can delete the tag group "Government," which removes the tag group's association with "Courts." However, the tag "Courts" remains in the project.
| 6. | To confirm the delete action, select the Delete button. |

| 7. | Select the Delete button. |
Your tag is deleted from the project.

Tagged Items
To see a list of the items that carry a tag from the current tag group, select the Tagged items tab in the detail view for the entity.

Tagging Items
There are two ways to tag items: in the Detail view Tags tab or in the List view.
Tagging Items in the Tags tab
The Tags tab allows you to tag an item or create a new tag group. You can access the Tags tab in the following ways:
-
Select an entity in the Data Sets or Templates List view and select the Tags tab
-
Select an entity in the Flows List view, select the Edit button, and then select the Tags tab.
The Tags view includes all available tags. System tags are only available for tagging flows.
Check boxes with three states precede the presented tags:
 Empty Empty |
None of the selected items carries this tag. |
 Semi Semi |
Some of the selected items carry this tag. |
 Full Full |
All of the selected items carry this tag. |
This is an easy way to tag multiple items at once.
Adding Tag Groups in the Tags tab
You can create a new tag by selecting the + next to the Standard tag groups title.

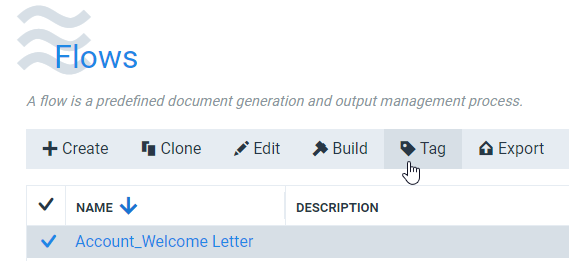
Tagging Items in the List view
Tagging items in the List view allows you to apply tags without moving away from the List view. Select the items you want to tag, then select Tag:
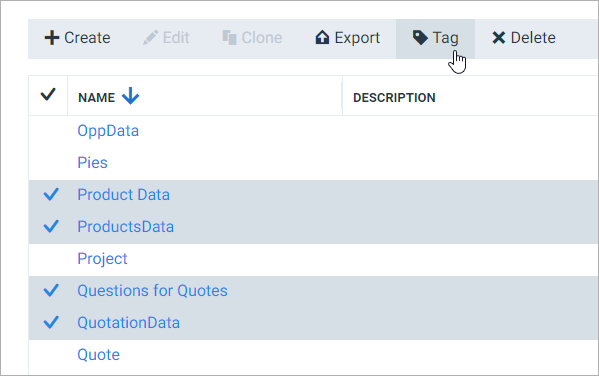
This brings up the following window, where you can tag the selected items by checking boxes.
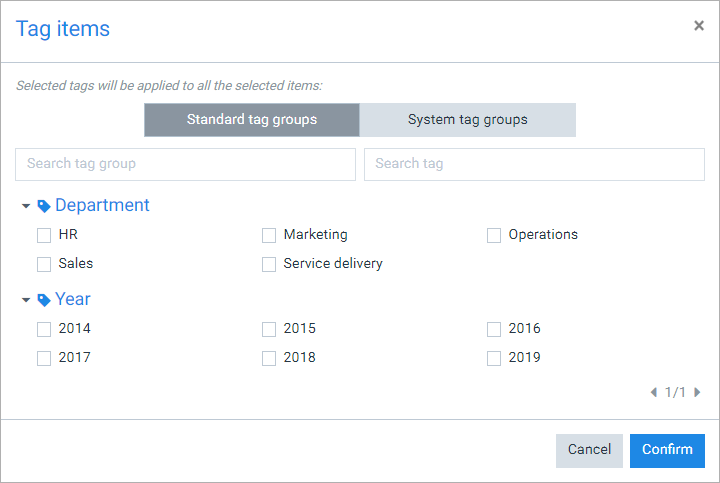
Check boxes with three states precede the presented tags:
| Empty |
None of the selected items carries this tag. |
| Semi |
Some of the selected items carry this tag. |
| Full |
All of the selected items carry this tag. |
This is an easy way to tag multiple items at once.
Using Tags as Filters
In the Flow Execution Panel
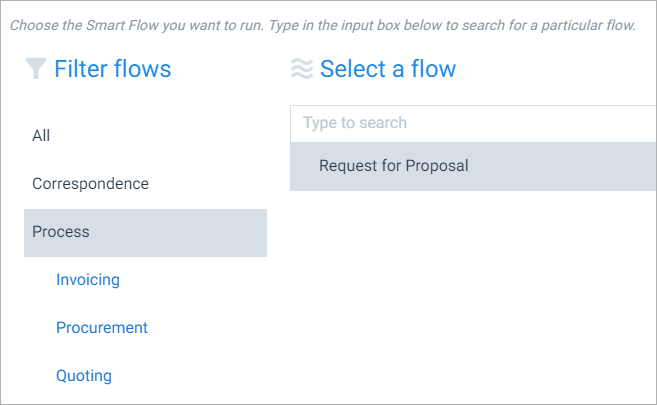
If you have at least one tag group in your project, when selecting a flow to run, you'll notice a Filter flows column.
Select a tag or tag group to only show flows that carry that tag. If you have many flows, we recommend you tag them logically so your end users can quickly find the flow they want.
In the List view
You can use tags and tag groups as filters in the Data Sets, Templates, or Flows List view. Selecting the Filter button displays filter fields in the List view under each column name.
Only items that carry the selected tag (or belong to the selected tag group if no tag is selected) are shown.

System Tags
System tags are pre-made tags that cannot be modified by the user. They are either part of the core Smart Flows system or tied to a connector. System tags can only be applied to flows.
Access System Tag Group
The Access system tag group taps into the security role model of a primary connector. It captures the available security roles of a connected Microsoft Dynamics 365 CE or Sugar and limits the visibility of the flow to users with the selected security role(s). Users who don't have the role(s) won't see the flow.
Configuring the Access System Tag Group
To set Access system tags, you first need to sync the Security roles of your primary connector.
| 1. | In the Project Console Control Panel, select the Tags button. |
The Tags List view displays.
| 2. | Select the System button. |

| 3. | Select the Sync button. |
The page populates with the Access group's tags and your primary connector's security roles.

If additional security roles are created in the connected system, you will need to sync again to make them available as Access group tags in the Smart Flows system..

You can now tag your flows with one of the tags from the Access system tag group. In the Flow Execution Panel and the flyout menu, the tagged flows are only visible to users with the selected security role(s).
| 4. | Select all security roles that should see this flow in the Flow Execution Panel and the Flyout menu. |
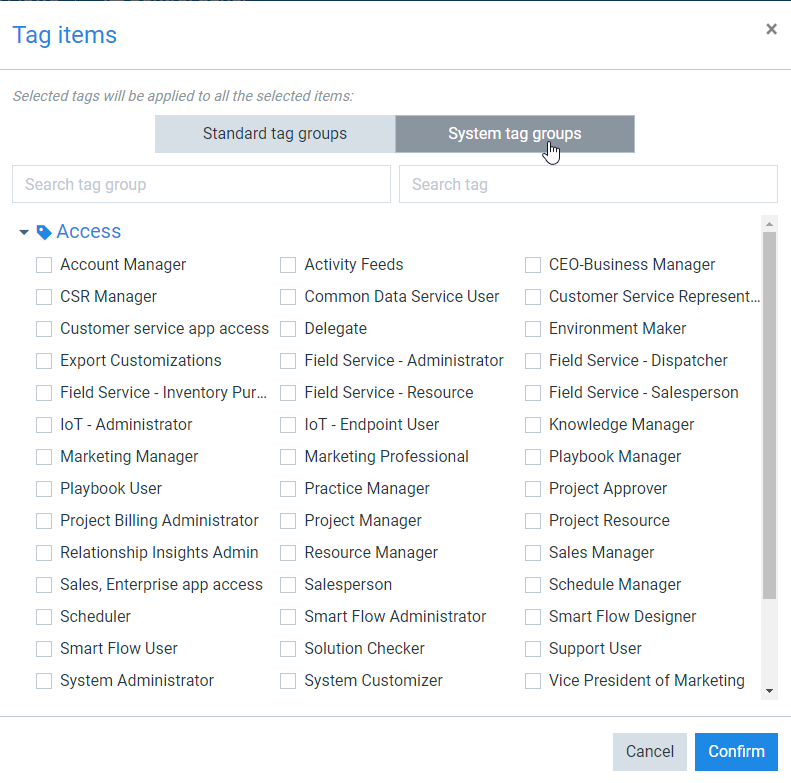
Access System Tag Logic
If no Access system tags are selected, the flow is available to all connected users, regardless of any security roles they may have. So, there is no need to select all access tags for flows accessible to all connected users.
If you select one access system tag, only connected users with the selected security role that corresponds to the tag see the flow.
If you select more than one access system tag, connected users who have one of the selected tags as a security role see the flow. For example, select Account Manager and Marketing Manager. The flow is visible to users with either the Marketing Manager role, the Account Manager role, or both. So selecting multiple access system tags results in an OR statement.
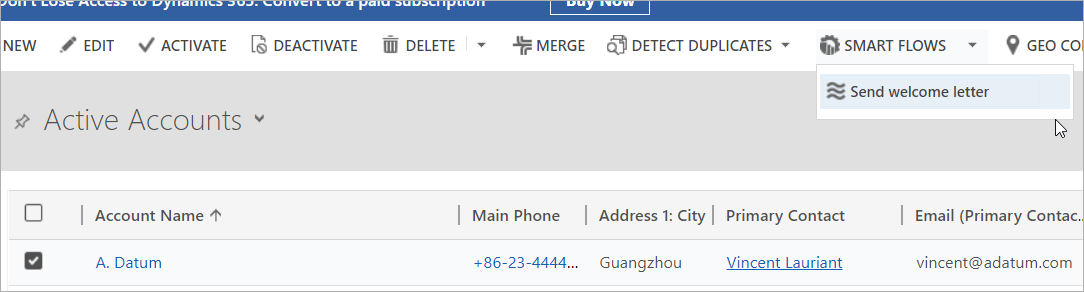
Availability System Tag Group
This tag group is used to tag flows which can then be executed straight from your Microsoft Dynamics 365 CE environment. When selecting the Smart Flows Flyout button in Microsoft Dynamics 365 CE, it shows all the flows tagged with Availability.Flyout or Availability.Flyout (run in the back).
.png)
The Availability tag group has the following tag options:
|
Tag Option |
Description |
|---|---|
| Flyout | When you select the Flyout tag, the flow shows in the Flyout dropdown menu of ExperlogixSmart Flows for flyout buttons, such as the ExperlogixSmart Flows Managed Solution for Microsoft Dynamics 365 CE and the ExperlogixSmart Flows module for Sugar. When a user triggers a flow, it opens the Flow Execution Panel in a new tab or existing window. By default, the system uses Flyout when applying new tags to flow. If you want to prevent a flow from appearing in the Flyout menu, you must uncheck the Flyout box. |
| Flyout (run in the back) |
When you select Flyout (run in the back), the flow shows in the Flyout menu of the host system. When the flow is triggered, the system starts the flow without opening the Flow Execution Panel in ExperlogixSmart Flows. The host system also notifies the user that the flow has begun and is running in the background. |
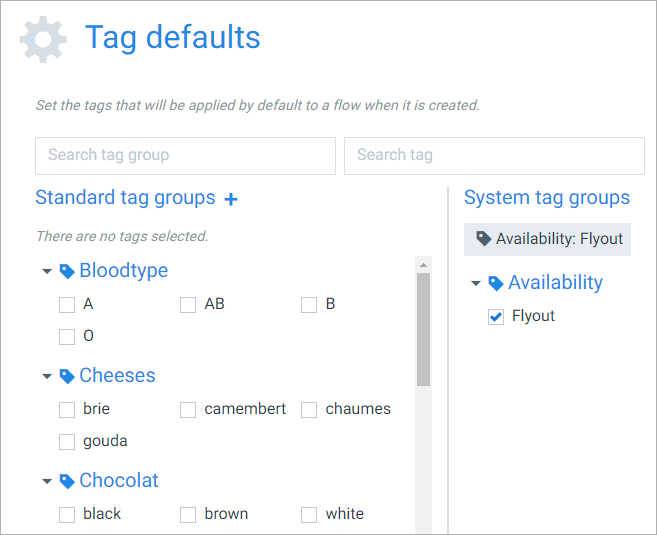
Setting Default Tag Behavior
You can change which tags are applied to a new flow by default in Control Panel.
| 1. | In the Project Console Control Panel, select the Settings button. |
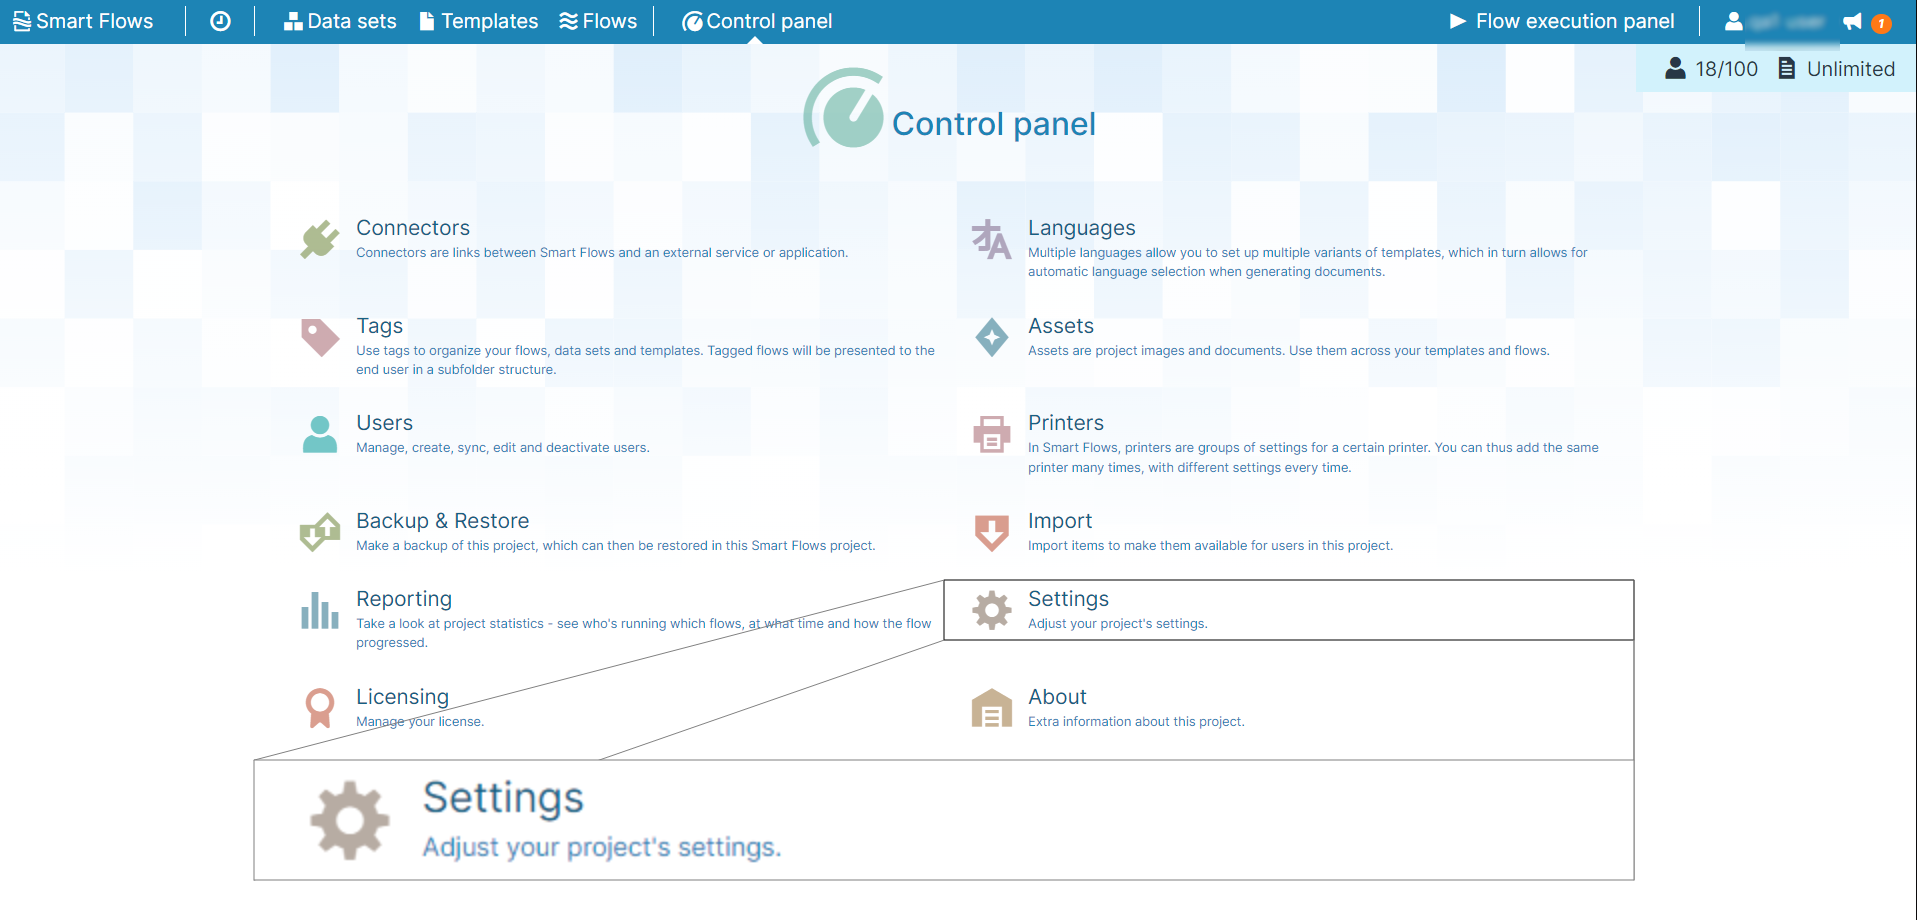
| 2. | In the left-hand navigation, select Tag defaults. |

| 3. | Search and select any tags you wish to apply to flows by default. |
| 4. | Select the Save changes button. |